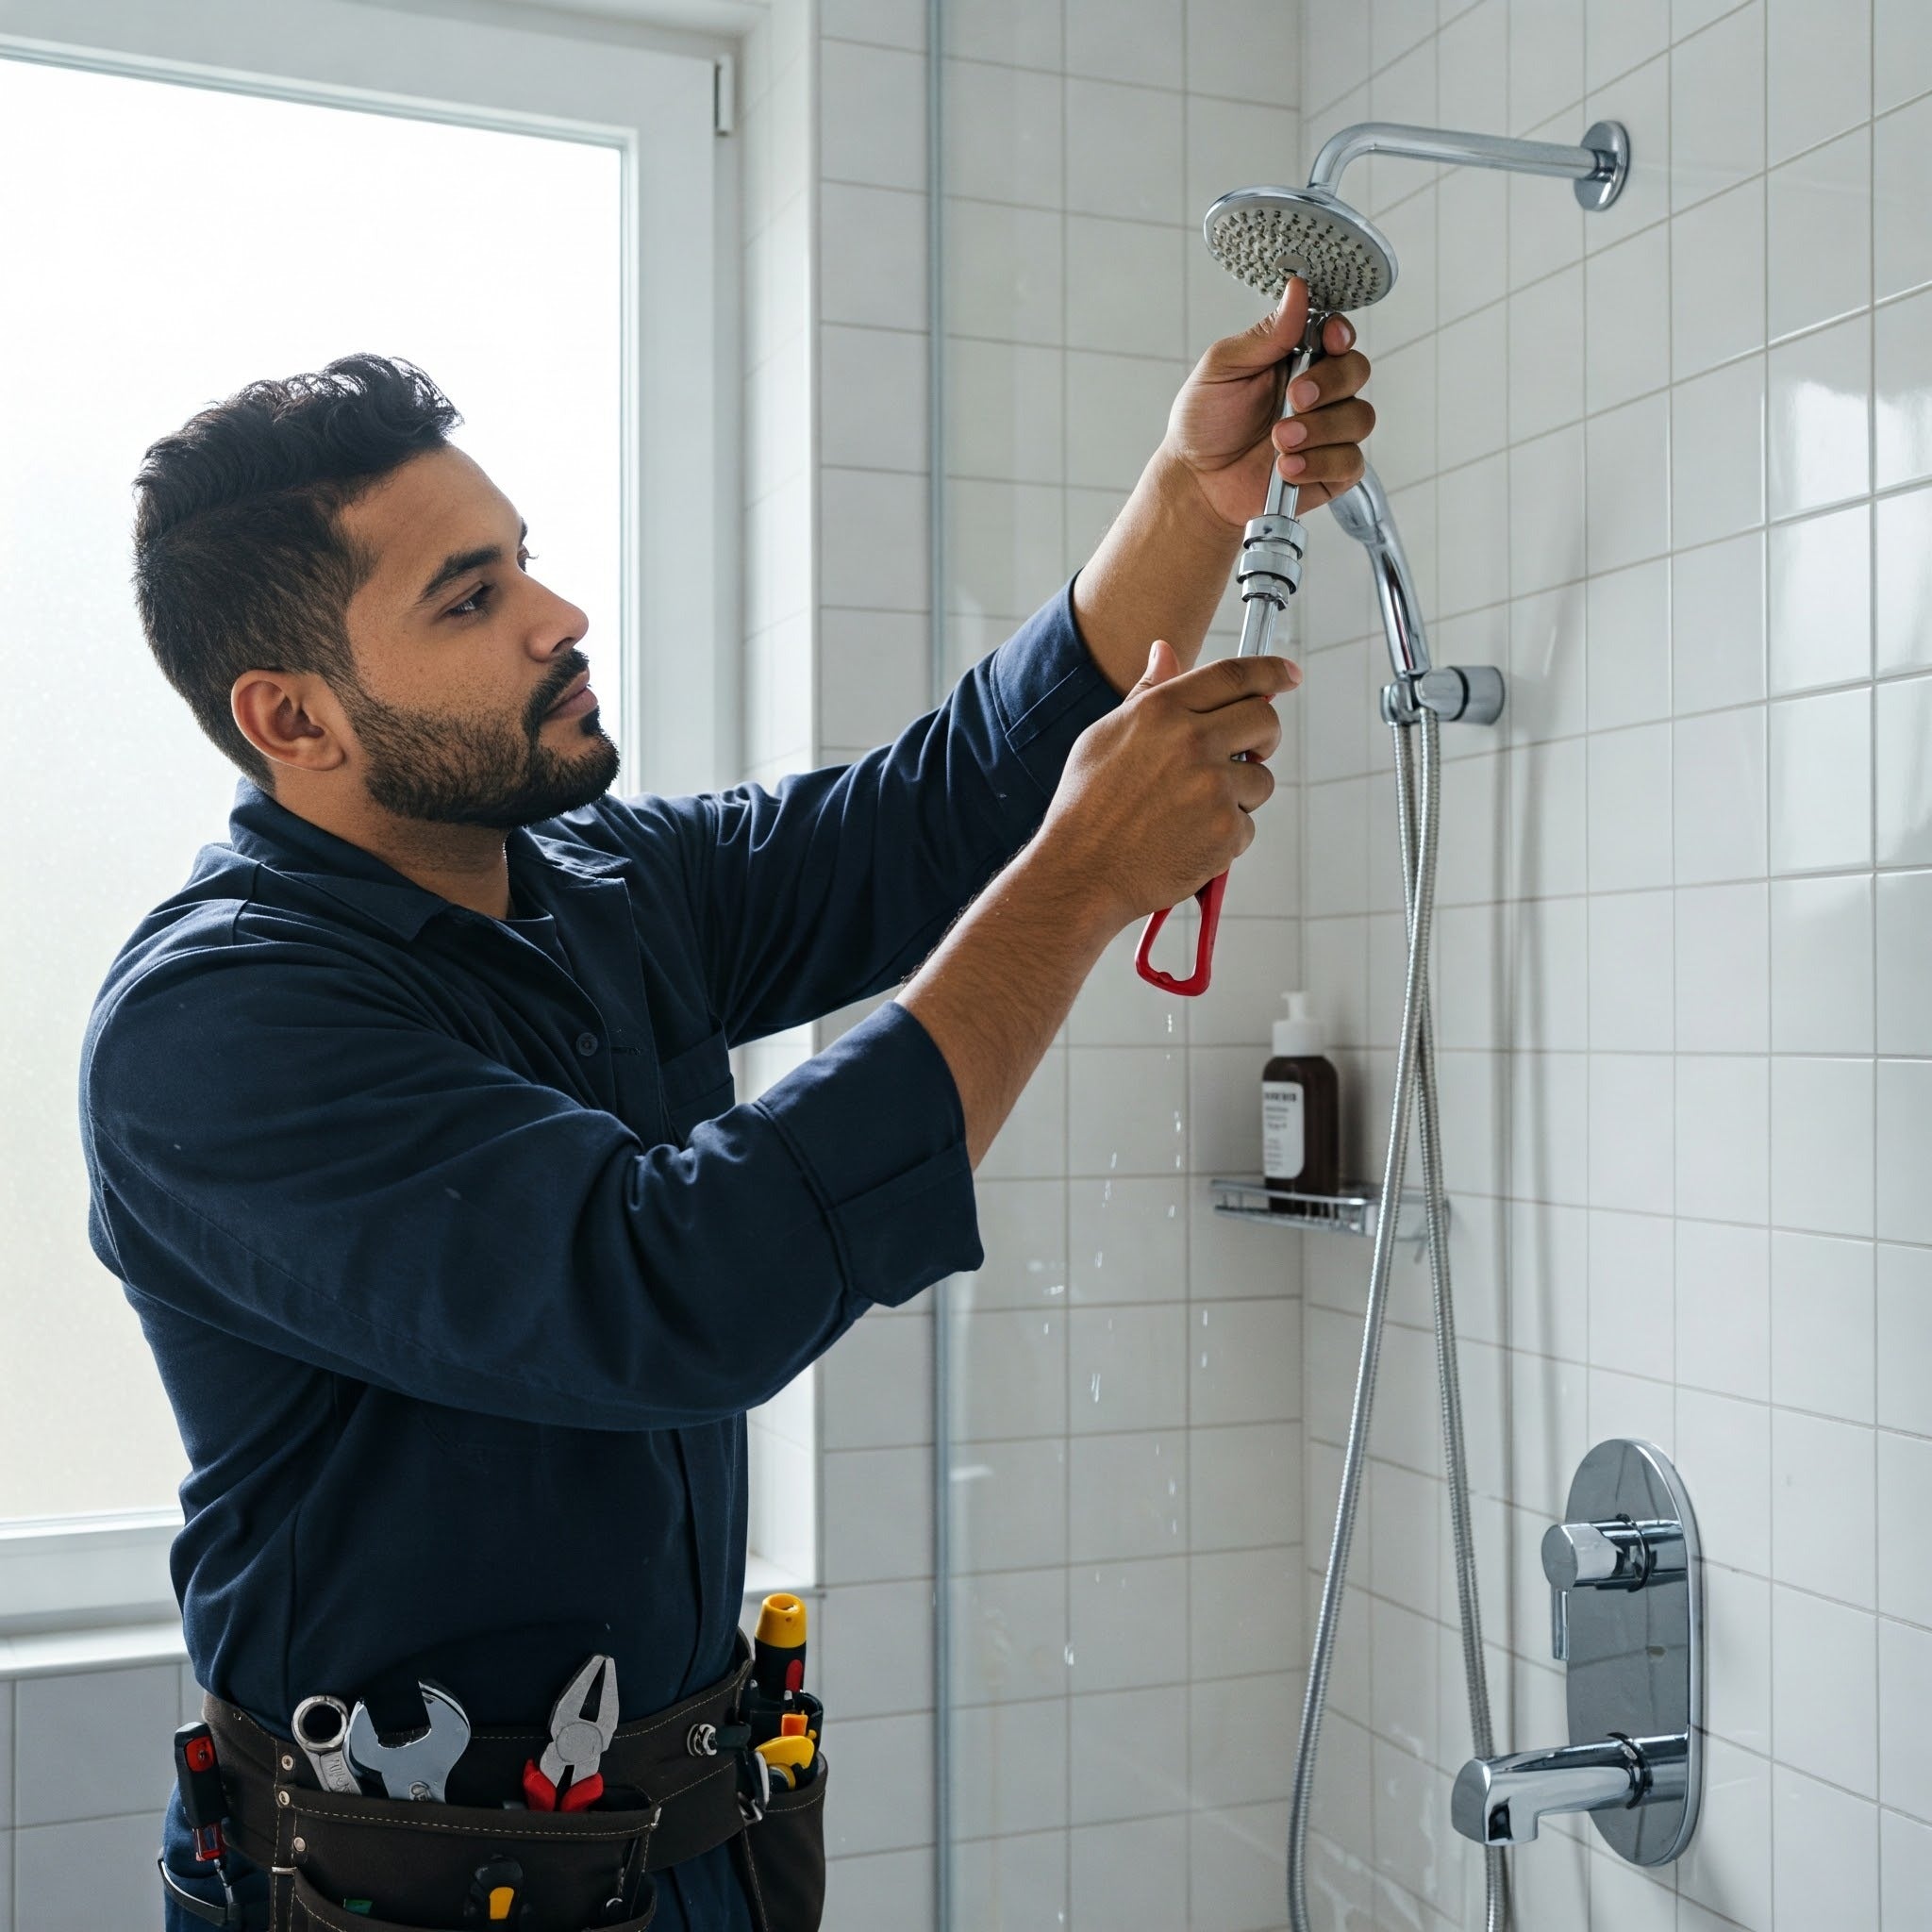
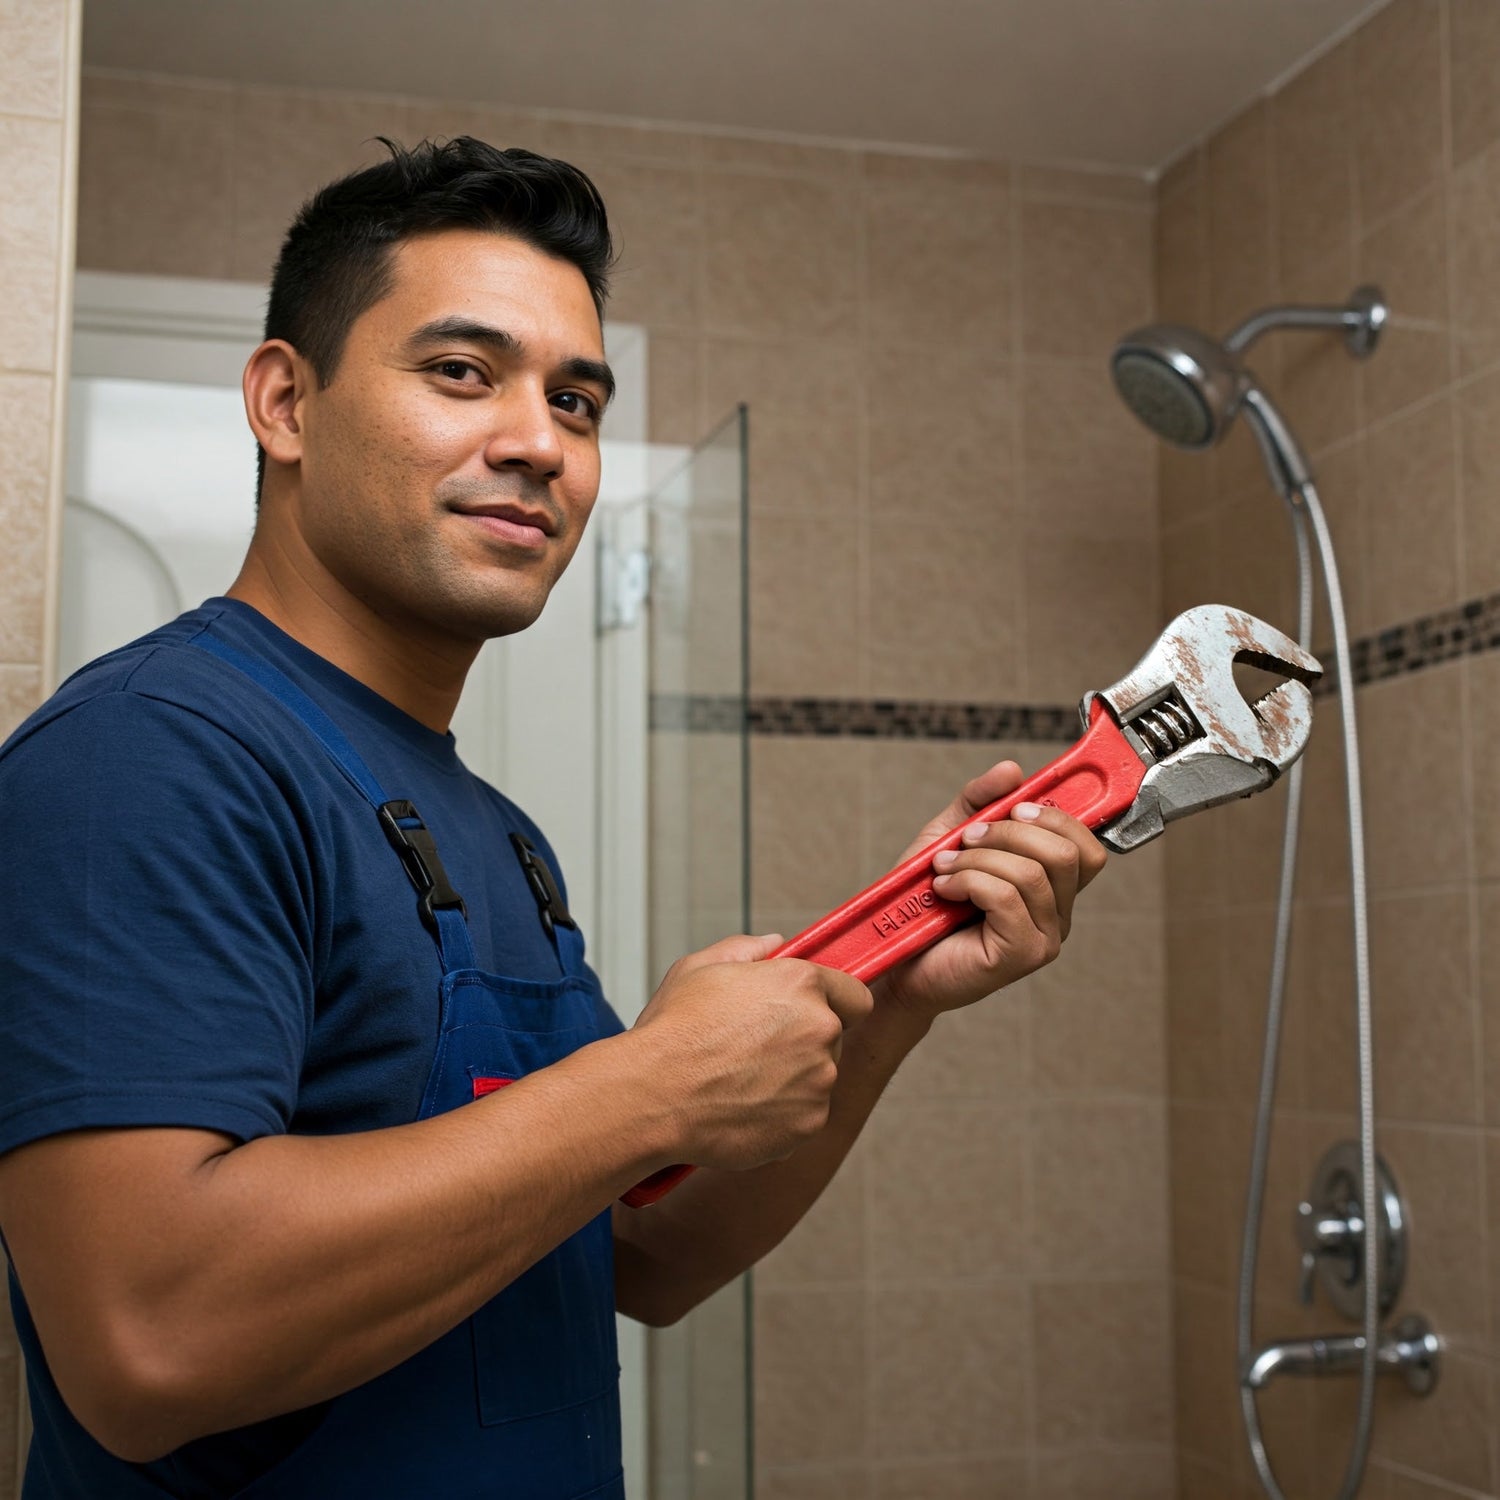
Is your shower head dripping, spraying where it shouldn’t, or just generally making a nuisance of itself? A leaky shower head is a common problem, but thankfully, it’s often a simple fix. Before you call a plumber, try these DIY steps to get your shower back in perfect working order.
What You’ll Need:
What You’ll Need:
- Wrench or pliers
- Flathead screwdriver or paper clip
- Cloth
- White vinegar
- Thread seal tape (Teflon tape)
- Replacement shower head washers (if needed)
Step 1: Identify the Leak’s Location
- Where is the water coming from? Is it dripping from the connection point where the shower head meets the shower arm (the pipe coming out of the wall)? Or is it leaking from the shower head itself? Knowing the source helps you target the problem.
Step 2: Turn Off the Water
- Important safety step! Shut off the water supply to your shower. There should be a shut-off valve either on the shower arm itself or nearby. If you can’t find a local valve, you may need to turn off the main water supply to your house.
Step 3: Remove the Shower Head
- Loosen the connection: Try unscrewing the shower head by hand, turning it counterclockwise. If it’s stuck, use a wrench or pliers.
- Protect the finish: Wrap a cloth around the connection nut to prevent scratches when using tools.
Step 4: Inspect for Damage
- Check the shower head: Look for cracks, splits, or damage to the threads. If the shower head itself is damaged, it’s time for a replacement. We have a wide selection of high-quality, all-metal shower heads built to last!
- Examine the shower arm: Clean off any old thread seal tape. If the shower arm is corroded or damaged, consider replacing it.
Step 5: Clean the Shower Head
- Remove mineral buildup: Mineral deposits can clog the shower head and cause leaks. Soak the shower head in a solution of equal parts white vinegar and water for 30 minutes to an hour.
- Scrub away debris: Use an old toothbrush to scrub away any remaining residue.
Step 6: Replace the Washer (If Necessary)
- Locate the washer: Inside the shower head or the connector nut, you’ll find a rubber washer.
- Check for wear: If the washer is cracked, flattened, or worn, replace it with a new one. You can find replacement washers at most hardware stores.
Step 7: Apply Thread Seal Tape
- Wrap the threads: Clean the shower arm threads, then wrap them with thread seal tape (Teflon tape) in a clockwise direction. Apply 3-4 wraps, ensuring the tape is snug. This creates a watertight seal.
Step 8: Reinstall and Test
- Screw the shower head back on: Tighten it by hand, then use a wrench or pliers for a snug fit. Be careful not to overtighten.
- Turn the water back on: Slowly turn the water supply back on and check for leaks. If you see any drips, gently tighten the connection further.
Still Leaking?
If you’ve followed these steps and your shower head is still leaking, the problem might be a faulty shower valve. This is a more complex repair that may require a professional plumber.
Upgrade Your Shower!
While you’re at it, why not upgrade to a new, high-quality shower head from The Shower Head Store? We offer a wide variety of styles and finishes, all built to last and provide an exceptional shower experience. Browse our selection today and find the perfect shower head for your needs!


